Tuesday, 25 March 2014

Upside Down Nectarine Cake


I’m in great pain. My legs hurt but not as much as The Thew’s – probably because he runs faster than me and is officially the fastest Woodrow. I’m the slowest but it’s a role I fill bravely and with style! The Brentwood half marathon felt like a good idea at the time but I did have a couple of glasses of champagne inside me along with a glass of wine when I agreed to do it. Most things start to seem like a good idea at that point. The worrying thing is that I have a harder half marathon in less than two weeks when I go to Ireland to see my family. Once again it seemed like a good idea at the time to combine a boozy family trip to Connemara with a race. Thinking back I was probably drunk. 
However alcohol cannot explain why on Sunday evening, in pain from the half marathon I just ran, I signed up for a 100km walk. That’s explained by friendship which is a much better reason. My good friend Lorna has a friend who has cancer and she’s doing the walk to raise money for research into cancer. Lorna is one of those amazing people who will fight any battle to the maximum that she believes is worth fighting – she’s like a super hero on the side of all that is right and just. If she could shrink into a space ship, like Dennis Quaid in Innerspace, and fight cancer head on inside bodies she’d be doing it. Because she can’t, and because she’s one lady who won’t sit idly by, she’s going to walk 100km. Because she’s my friend, and it’s important to her, I’m walking it too.  
The above has very little to do with my baking this week apart from forgetting about baking because of the run, then realising I had some nectarines to use up and that I had the ingredients for a sponge. I’m awful at turning out upside down cakes so was happy this one worked! You can use any soft fruit here really but I think it’s worth the extra time to do a nice pattern in the top. 

Ingredients
Topping
50g butter
75g caster sugar
5 nectarines, chopped (I did slices – 6 per nectarine – but you could just half them if you prefer) 

Cake
150g butter
150g caster sugar
3 large eggs
60 ml milk
1 tsp vanilla
150g self-raising flour 

1.    Preheat an oven to 180°C/GM4.
2.    Use the 50g of butter to coat the bottom of a tin – I used 23” but you can use any size really. Make sure it’s kind of evenly spread and grease the sides lightly. Sprinkle the 75g of sugar over the butter. Then arrange your fruit on it.
3.    Cream the butter and sugar together, then add the eggs one at a time mixing well.
4.    Put in half the flour, mix, then mix in the milk and vanilla, then mix in the last of the flour.
5.    Cover the fruit with the batter and bake for about 35 minutes, testing to check it’s cooked. If you’ve used a smaller sized tin you may need another few minutes.
6.    You can serve this hot or cold so either cool completely, or if serving hot, leave for about 10 minutes before turning the tin upside down on a plate and hoping it comes out well!

Wednesday, 19 March 2014

Shamrock Fairy Cakes

Stupid picture won't rotate!
Things are fairly hectic at the moment. I'm having my bathroom redone which means the flat is in a constant mess and everything is covered in dust. Work is busy and I've managed to stall mid introduction to a creative pitch because I've suddenly worried about the delivery of my toilet. Sadly I then went on to talk about the reason I stalled and can only be thankful that it's was a client that knows me and doesn't think random tangents of my thinking are standard.  

Anyway I baked on Sunday as it was St. Patrick's Day and I wanted to bring some baking into work on Monday for it. This was made more interesting because I was hung over from attending a brilliant wedding the day before so had to battle through that and tiredness. Added to the intensity was the fact that I'd been inspired by a link my friend Claire had sent me to make shamrock shaped fairy cakes. This meant that I had to think a bit, which was the one skill I was having difficulty with. Oh well.  

Now you'll need some ceramic baking beads to make these which you may not already have. These are vital but you can use the when making pastry cases etc so good to have. Make sure you have bake safe food colouring - I used Wilton's icing paste stuff in Leaf Green. The recipe is fairly basic and I cheated on the frosting but when you're making luminous green cakes I think that's ok as they're more novelty item than something that will win Bake Off. 

Ingredients 

Cakes
100g caster sugar
100g butter
2 large eggs
1 tsp vanilla extract
100g self-raising flour
1/2 tsp green food colouring 

Icing
1/2 tub of frosting (I used Betty Crocker vanilla icing)
Slightly less than 1/2 tsp green food colouring 

1.    Line a deep muffin tin with paper cases. A fairy cake, shallow tin, won’t work. Place three ceramic beads between the tin and case - spaced equally around the edge. This will push the case into a shamrock shape. Don't worry if it's not exact - people will get the general idea! (See below for how you need them to look before baking).
2.    Preheat an oven to 180°C/GM4.
3.    Cream the butter and sugar together.
4.    Add the eggs and vanilla mixing well. Then mix in the flour followed by the green food colouring. 
5.    Divide the batter between the cases. This will make 12. Don't worry if you don't get batter fully into each leaf shape as it will spread while cooking.
6.    Bake for about 15-20 minutes testing that they are cooked with a skewer. They're done if it comes out clean.
7.    Cool them completely and remove the paper cases.
8.    Mix the green food colouring into the icing and using a piping bag (I know, I'm sorry, it's fiddly but you need to distinguish between the leaves) squirt some on each of the three leaves so people understand what you've created! Then they're done. Serve with Cidona or red lemonade.


Tuesday, 11 March 2014

Red Velvet Cake with Cream Cheese Frosting


People can be so unaware of their surrounding and the effect they have on others. I always think of 'Sliding Doors' when something happens which could start off a chain of events. The bus driver who refuses to open the middle doors of a bus for a dad with a pram, the pedestrian whose random change of direction causes a bike to swerve, a delivery driver seeing no issue with changing a delivery time by a couple of hours.  

What could happen? I'm a pessimist so I see a missed appointment, an accident waiting to happen and a crisis at work that gets worse because you're not around. In reality this is how we live our lives - randomly bumping, or not, into each other and getting nudged ever so slightly, or not, into different directions. I was thinking about this as at work one of the creative team mentioned 'the nudge effect' in respect to a brief we are working on. I'm lucky enough to work with some ridiculously talented creative people who spend all day thinking about things and coming up with cool ideas. How the hell I got into this job still baffles me and when I think of some of the amazing experiences I've had during my working life I can't help but be very happy that I got nudged along (special thanks here has to go to Lorna for seeing that job at Emap many moons ago and getting me out of media sales - before anyone takes offence it wasn't for me, I personally didn't enjoy it and wasn't that amazing at it).

So we come to baking. My slight obsession with finding a good red food colouring that stays red when baked, remembering that I have a tall cake box at home I got from work and the front cover of 'Jamie's' magazine all nudged me to bake a three (I know!) tiered red velvet cake. The quantities look scary but they should - it's three tiers of substantial cake covered in cream cheese frosting!!!! Let's see how creative the team gets when hopped up on aggressive red food colouring sourced from the US ... 

Ingredients

Cakes
250g softened butter
600g caster sugar
4 large eggs
40g cocoa powder
80ml or 80g of bake safe red food colouring (Dr. Oetker red gel works)
2 tsp vanilla extract
600g plain flour
2 tsp salt
2 x 284ml pots of buttermilk (Waitrose is the only place I can find it or 2 parts natural yogurt to 1 part whole milk)
2 tbsp white wine vinegar
2 tsp bicarb of soda 

Frosting
200g softened butter
900g icing sugar
400g full fat cream cheese 

1.    Preheat the oven to GM4.
2.    If you have three 20cm sandwich tins then grease and line the bottoms. I only have two so you'll need to use one twice.
3.    Cream butter and sugar in a big bowl. It won't properly cream together but just make sure it's all mixed up. Add the eggs one by one, scraping down the sides.
4.    Put the food colouring, cocoa powder (I don't bother to sift) and vanilla in a bowl and mix together. Add to the batter and combine.
5.    Then add the salt and about 1/3 of the flour. Mix. Then add one of the pots of buttermilk, mix, then 1/3 flour, mix, then second buttermilk pot, mix, then the last of the flour.
6.    Mix the vinegar and bicarb in a bowl and add to the batter. Mix well.
7.    The batter allows you about 800g per layer so weigh it out in a bowl and put in the sandwich tins. Obviously if you just have two then keep some back.
8.    Bake for about 35 to 40 minutes. If you have a gas oven you'll want to switch the tins around on the shelves half way through if doing two together. Test with a knife or skewer and if it comes out clean leave them to cool.
9.    The frosting is easy but icing sugar is so messy. If I had an outside  I'd do it there but I don't so I use a good processor. The quantities pack it to the max and you can of course use a hand held whisk or freestanding. So put the butter in with the sugar and mix until combined through. Add the cream cheese and you're done.
10.  Once the cakes are cool layer them together with frosting - there is enough for a fairly generous layer between each. Remember to do this on your serving plate, stand etc as you won't be able to move it once finished! Choose your most evenly rounded top for the top one and smooth out any random bumps or wonkiness by using a sharp bread knife to gently cut then away. When it comes to frosting a palette knife is your friend. Build the coverage of the sides up slowly by doing a little at a time until you can't see any cake. Crumble up some of the cut off cake and sprinkle on the top. Voila!  

N.B. When frosting, to get a nice finish on the bottom, gently put strips of baking paper slightly under the bottom layer and once you are finished slowly remove them. It will give you a clean finish.


Tuesday, 25 February 2014

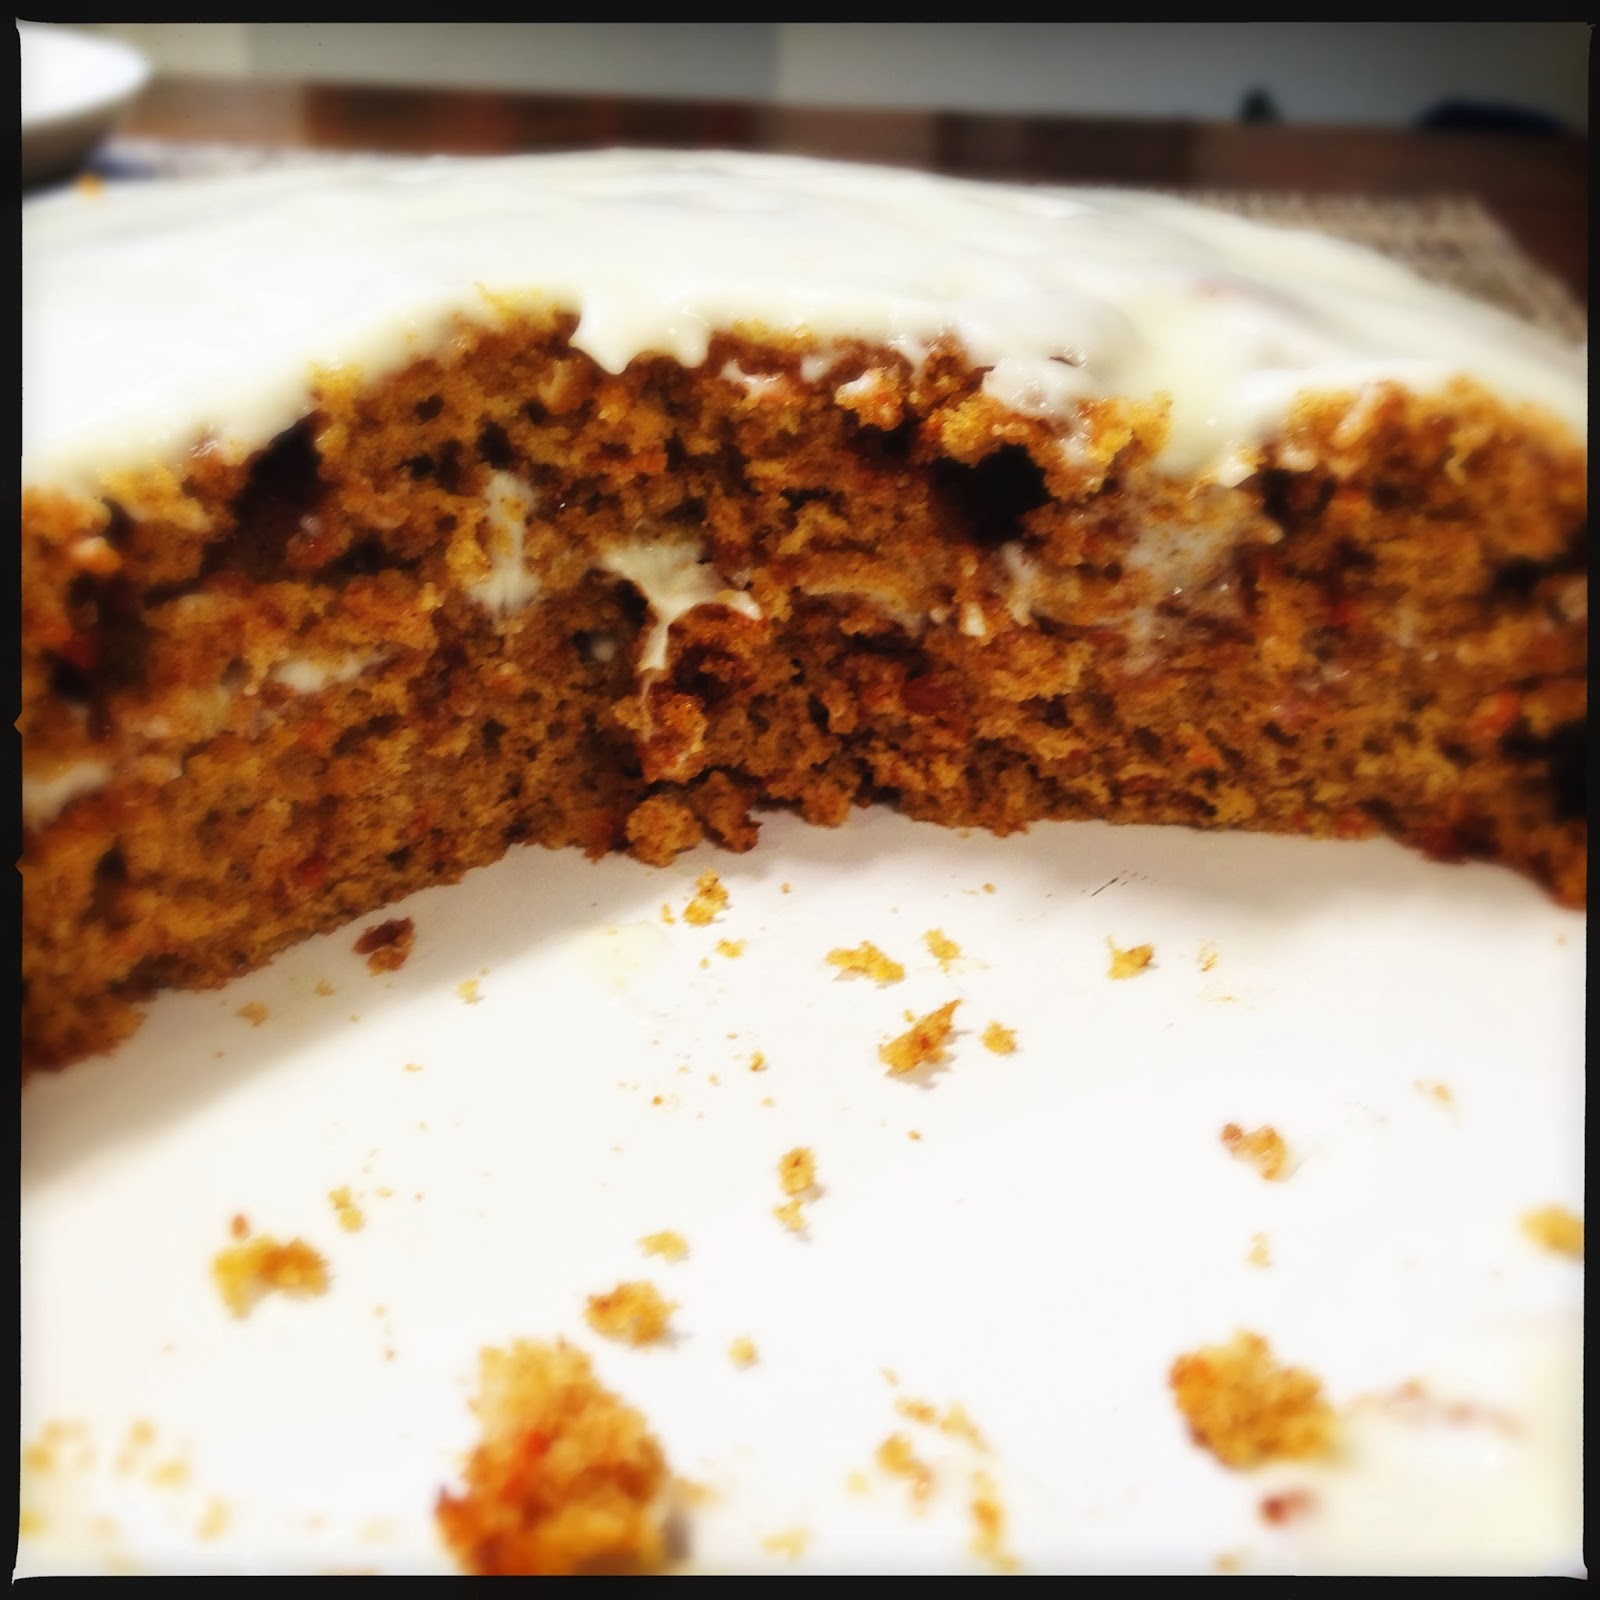
Carrot Cake (from a box!)


So my weighing scales are currently indisposed which does cause some issues when baking. Now of course there are always cups but to be honest I really couldn’t be bothered to create something from scratch last night. I was making chicken schnitzel and wanted to dedicate time to bashing chicken breasts really flat with a rolling pin. Plus it always creates a lot of washing up as The Thew has a gluten free coating which means another bowl is needed (for those interested I blitz nuts and/or crunchy edamame with seeds and add seasoning) so adding baking accessorises to that – well it’s just a mess. 

I therefore decided to buy a box of cake mix while in M&S buying dinner items. I’m not snobby about cake mix boxes. They do a job and are a good base for pimping. My friend’s husband works wonders adding extra ingredients to Betty Crocker Brownie mix. The results are epic, cause less washing up and less stress. I got the carrot cake one as I knew I could add extra spice and some walnuts to it (sadly I had no walnuts at home but hey ho). 

In general it went well. Everyone at work said it tasted good (if not a little sweet) but I have some complaints about it. Nothing that impacted hugely on the end result but things that shouldn’t really happen. So the brown sugar in it was clearly in little clumps and they were impossible to de-clump. When baked this means that the sugar goes molten and leaves holes in the cake. Not an issue but it doesn’t look good. Then the frosting. I’ve never known cream cheese frosting that doesn’t set – it’s meant to! I added twice the amount of cream cheese and it still didn’t set after a night on the cake in the fridge. Once again, not a massive issue but it’s not ideal. So below is my take on making it work a bit better than the instructions on the pack including adding some butter to the icing. I think I'll make cake box baking a regular feature to test them out.

Ingredients
1 x box of M&S carrot cake mix
2 large eggs
½ tsp baking powder (as they never put enough in)
3 tsp vegetable oil (not olive)
5 tps water
1 tsp cinnamon (because they never out enough in)
1 carrot (large)
Handful of chopped walnuts
30g butter, softened
200g full fat cream cheese (I’ve doubled this as it was far too sweet) 

1.    Preheat the oven to 180°C/GM4 and grease/line two sandwich tins.
2.    Put the cake mix in a bowl, add the eggs, baking powder, oil, water and cinnamon. Mix together well. Grate the carrot into the bowl, add the walnuts and folder into the batter.
3.    Pour half of the batter into each sandwich tin and bake for about 20 minutes. Check after 15 as the size of your sandwich tins will determine how long they take. Plus if they are on different shelves of the oven you may want to switch them half way through to get even cooking.
4.    While the cake is cooking put the icing sugar packet into a bowl and add the butter. Mix together until the butter is evenly distributed throughout the icing sugar. Add the cream cheese and mix like mad. Leave in the fridge until you need it.
5.    Once the cakes are cooked leave to cool completely before assembling. Put one cake down first, spread half the cream cheese icing over it and put the other cake on top. Spread with the rest of the icing and you can decorate with more walnuts and grated carrot if you so wish. 

N.B. With this many extra ingredients it may seem just as quick to just make it from scratch. However the box recipe excludes four of my ingredients so that would be easier and regardless of that there is much less weighing and mess.

Doesn't look exactly the same as the baked version, does it?!

Tuesday, 11 February 2014

Red Food Colouring - Red Velvet Cupcakes

I’ve ranted on this blog about how Dr. Oekter red food colouring actually makes Red Velvet Cakes brown but have recently found out that I unfairly blamed him (is there a ‘him', was there ever?)! Natural red food colouring in the UK goes brown when baked due to EU regulations and for a period of time that was the only type you could get. However Dr. Oekter now does a red gel (I guess they've had time to experiment) that is 'bake stable' and stays red. Yay! So don't use anything 'natural' and check out a 'bake stable' one.

I did bake this week but made meringues, which I have made before. I’ve updated my recipe though as I think my ones I made this week were better than the previous ones.

Wednesday, 5 February 2014

Alfajores


What is with all these celebrities writing open letters to each other? I get the idea behind them but it’s getting a bit boring. They have all this money and they resort to releasing the equivalent of a press release about someone else and their thoughts on them. It also seems to be the older celebrities that write them, I guess because younger celebrities just let rip at one another in 140 characters or less. 

However that is also disappointing. These people are meant to be creative and they’re just doing what everyone else does. Where is the sky writing above someone’s film premiere? Where is the interpretive dance on Oprah’s sofa to show how they feel about twerking while drinking SodaStream? Why don’t they write their thoughts across their naked body and commission a Vogue shoot? It could be so much more interesting and entertaining for all.  

Hey ho. I’ve been feeling slightly angry all week as the extent of my wheat allergy (which I’m in total denial about) starts to make itself known. I’ve done something gluten free this week and gone all out and made it dairy free as well. These do taste ok, and the texture of the biscuit does work, although if you’re ok with dairy then use better instead of the margarine. Sadly when cooking they don’t fill your home with the smell of fresh baking but more like slightly burnt rice. However the caramel filling smells great so that’s a bonus. The original recipe has Xanthan Gum in but as it's powdered mould I left it out. It doesn't lack for want of it.

Ingredients
 
Biscuits
200g dairy-free margarine (or butter)
100g icing sugar
200g ground almonds
200g brown rice flour
1tsp cinnamon
Pinch of salt 

Caramel
150g dairy-free margarine (or butter)
150g light brown soft sugar
A good dollop of golden syrup
OR A tin of Carnation Caramel
 
1.    Cream the margarine and sugar, then add the rest of the biscuit ingredients, mixing well.
2.    Make the dough into a disc, wrap in cling film and put in the fridge for 30 minutes or so.
3.    Preheat the oven, while you wait, to 180°C/GM4.
4.    Next make the caramel as it will need to cool before you use it. Put the sugar and golden syrup on a very low heat and melt together. You’ll need to mix it every now and again as you don’t want it to burn. It will create a paste, rather than liquid, so don’t panic.
5.    Add the margarine (it will spit a bit) and mix until the margarine is incorporated. Then leave on a slow simmer (it will look very bubbly) for 15 minutes. Do not stir. After that time drop some of it into a cup of cold water and check if it’s chewy. If it is it’s done. Leave to cool. Stir a bit as the fat will want to separate out but don’t panic about it.
6.    Once the dough has had its time in the fridge roll out on a surface floured with rice flour. You want it about 4mm thick. Then cut out discs of 4 – 6cm in diameter.
7.    Put on a baking tray, they don’t spread so you don’t have to worry about that, and bake for about 22 minutes (if you have a gas oven then turn half way through for an even colour).
8.    Cool and spread one biscuit with the caramel – there is enough to be generous – and sandwich with another. This makes about 20 in total if you use a 6cm cutter.


Wednesday, 29 January 2014

Oatmeal Sandwich Cookies


I don’t really have anything to waffle on about this week before I let you have the recipe of what I made on Monday. I did think about sharing a list of all the places The Thew and I went on Saturday for one of our quarterly ‘Days of Fun’ but I got worried about how long the list of places was getting and what that may say about the alcohol consumption that went on. Needless to say we drank a lot, ate a lot of cheese and had fun.  

So on to the recipe. I found this on The New York Times’ website and tinkered a bit with quantities as their original recipe would have made something that resembled all that is wrong with US portion sizes. These went down well and were described as a reverse cheesecake. 

Ingredients

Cookies
40g of desiccated coconut
120g butter
165g dark brown sugar
1 large egg
1 tsp vanilla extract
95g plain flour
½ tsp salt
½ tsp baking powder
2 tsp ground cinnamon
130g porridge oats
50g stoned dates, chopped (you could use raisins or sultanas if you prefer)
3 tbsp caster sugar 

Filling
60g cream cheese
3 tbsp mascarpone cheese (I forgot to weigh what this was!)
12g icing sugar
2 tsp vanilla extract 

1.    Heat the oven to 180°/GM4 and spread the coconut on a baking tray. Toast for about 5 minutes (stiring half way through. You want it going golden and smelling great. Once done turn the oven up to 190°C/GM5.
2.    Cream the butter and brown sugar together until light in colour.
3.    Add the eggs and vanilla, mixing well. Worth scraping down the sides of the bowl midway through.
4.    Add the flour, salt, baking powder and 1 tsp of the cinnamon. Beat well and then add the oats, dates, and coconut mixing well again.
5.    This mixture will make 32 cookies so divide the mixture in half, then into four and then each of the four pieces into four. It sounds complicated when written down but it will make sense when you’re doing it. Roll them into balls.
6.     ombine the caster sugar with 1 tsp ground cinnamon and roll the balls in it to cover the outside.
7.    Put them on a baking tray, well-spaced out, flatten very slightly and bake for about 12 minutes (turn half way through if you have a gas oven to give an even colour).
8.    While that is going on put all the filling ingredients in to a bowl (sifting in the icing sugar) and mix well. Once the cookies are cooled use the filling to sandwich two together. I suppose it was about a tsp worth but I just used a knife the spread it on about 5mm thick.