Showing posts with label cake mix. Show all posts

Tuesday, 28 October 2014

Dalek Cake


I’m not the biggest fan of moulds for cakes that are a weird shape as the cake never comes out evenly baked but this one called out to be made. It was an important birthday for someone at work and he is a Dr. Who fan. I accepted early on that this cake would be style over substance but who can resist something that requires painting in metallic edible paint!!! 

I decided to make a mainly red Dalek as it meant I could use red food colouring in the mix and have a good base of colour for the majority of the cake. I highly recommend this site (Cakes, Cookies and Crafts) for the paint. I used metallic red and gold paint with the silver being done with metallic powder. I also had gold metallic powder, because I bought everything (!) having not done this before, which worked very well but was messier than the paint so you had to be more careful. The powder has the bonus of being dry immediately but I’m not sure getting powder over everything was worth that.  

There weren’t instructions with it but on the Lakeland site, where I bought the mould, they recommended an eight egg cake mix. I did that but it wasn’t enough and I think that if you’re trying to fill every nook and cranny ram it with more cake mix than you need. It meant I missed out on some detail so below is the recipe I recommend using 10 eggs! (They also suggested putting a thin layer of frosting on the cake and covering with royal icing before painting. Seriously! What kind of sadists are they? Can you imagine everything that could go wrong?! If you’re brave do it that way but I’m happy with the painting on cake method). 

Ingredients
Lurpak Cooking Mist (seriously this is necessary and amazing)
500g butter, softened
500g sugar
10 large eggs
500g self-raising flour
40g red food colouring (bake safe)
1 x pot of metallic red edible food paint
1 x pot of metallic gold edible food paint
1 x tube of metallic silver edible food powder
1 x pack of Matchsticks (you only need 1 ½ but you can scoff the rest) 

1.    Preheat the oven to 180°C/GM4.
2.    Grease your mould well. This is key to using any mould as you need to get the sucker out afterwards. This cooking mist allows you to just spray every part. Make sure you don’t have too many puddles but the cake batter will mix with it and it should be fine.
3.    Cream the butter and sugar. Add 2 eggs, then 100g of flour mixing well. Repeat with the rest of the eggs and the flour. Then add the food colouring and mix really well.
4.    Put the mould on a baking tray to keep it steady and allow you to move it around. Pour the batter into the mould. It should fill it almost to the top. Then pick the tray up a few cm above the work surface and drop. The aim of this is to get the batter into every part of the mould so do it two or three times.
5.    Put the mould, on the baking tray, into the oven. Cook for about an hour and a half – the batter may spill over the top but it will only go on the tray. If the top is burnt it shouldn’t matter as you’ll be cutting it off once it’s out of the oven because it’s probably outside the top of the mould. You can check with a skewer if it’s cooked but it could need longer. Err on the side of caution and over cook if in doubt.
6.    Once cooked leave the cool in the mould. This is important as you’ll have more chance of getting it out in one piece (saying that I always get impatient and do it when it’s warm!)
7.    Before you turn out cut any cake that is over the top of the mould off so you have a smooth back to the cake.
8.    Turn out and paint! I started with red, and then did the gold detail, ending with the silver. Make sure each layer/colour if dry before putting more on top. I did two layers of each and that seemed to do the trick. Finish by shoving half lengths of Matchsticks in the three points where Dalek’s have sticky out things (or you can fashion them out of black icing but after all that painting who has time for that?) 

N.B. This cake is going to be a bit dry, as you’ve probably overcooked, so maybe have cream or frosting on the side for people to add.
 
Ok so the painting part was lots of fun


Friday, 29 August 2014

Chocolate Cake in a Mug

This should have been a photo of the cake but it all went rather quickly at work

Yes you read that right. Cake you make in a mug. It’s not a new thing but I’ve finally tried it and it’s a success. The main thing is eating it when it’s warm as it doesn’t cool down well. You’ll also need a really big mug as it does rise up and can spill over or instead just divide the mixture between two mugs. 

This obviously isn’t going to be the best chocolate cake in the world but it isn’t half bad for something that comes out of the microwave.  You could also make it in a bowl and spoon it out to have with ice cream.

Ingredients

4 tbsp self-raising flour
4 tbsp sugar
3 tbsp cocoa powder
1 egg
3 tbsp vegetable oil
3 tbsp chocolate hazelnut spread (basically Nutella)
3 tbsp milk
Optional – squirty cream 

1.    Put all the ingredient in a mug and whisk together with a fork. Be sure the get everything mixed well.
2.    If making one mug put into the microwave on a plate and nuke for 2-3 minutes on your highest setting.
3.    If making two then pour half the mixture into another mug and nuke each one individually for 1 ½ - 2 minutes.
4.    Top with cream if you want.

Tuesday, 8 July 2014

Rainbow Cake or Why Lorna Rocks


So a couple of weekends ago I walked 100km in just under 28 hours. The main reason for this is that my friend Lorna asked me to. I’ve explained before that she rallied a team together to collect money for Cancer Research after one of her friends at work was diagnosed with cancer. We have raised over £6,300 which is amazing and is testament to how kind hearted and supportive people can be of crazy physical challenges. It’s also testament to the fact that everyone needs Lorna as a friend. Or at least someone like her as she’s already a very busy lady and might break if she had to be friends with the world (she is already a friend of all animals which is fairly epic in itself). Who else would think of doing such a random thing and actually convince six more people to do it with her? Because of her Cancer Research has an extra 6k to get on with doing what they do best - pretty cool.

So this week I went a bit random. It’s not exactly a true rainbow cake, as I’m missing three colour layers (I need a bigger cake box to transport something taller), but this will give you a good enough guide. There is something satisfying about constructing a truly fun cake with no real purpose other to look pretty and get people hyper on the E numbers (someone in my office had to have a walk to get rid of the excess energy after her slice!)  
The sponge is really easy and robust as you don’t want to have to faff with lots of ingredients and breakages when doing multiple layers. Don’t worry though – it’s a nice sponge and tastes well. It also keeps so you can make the sponges a couple of days in advance. Maybe I should start getting sponsored for the tallest cake I can make?! 

Ingredients

Cake
Each layer uses the following (you can mix in big batches and divide into bowls to add the food colouring. Each layer will need 415g of batter).
100g softened butter
100g caster sugar
2 large eggs
100g self-raising flour
10ml or 10g of bake safe food colouring 

Icing
You can obviously just buy Betty Crocker ready mixed frosting or:
200g softened butter
900g icing sugar
400g full fat cream cheese
Decorations 

1.    Preheat the oven to 180°/GM4.
2.    Grease and line two sandwich tins. I did two sponges at a time as I only have two tins and my oven only fits two at a time!
3.    Cream the butter and sugar together, add the eggs one at a time and then mix in the flour. See – easy!
4.    If dividing the mixture do it now into about 415g a layer then add the food colouring and mix.
5.    Put into a tin and bake for 25 minutes. If you are cooking two at a time and have a gas oven then you’ll need to swap the shelf they are on half way through.
6.    Cool and turn out until ready to construct.
7.    If making frosting then then ideally use a food processor as icing sugar is messy! The quantities pack it to the max but you can of course use a hand held whisk or free standing . So put the butter in with the sugar and mix until combined through. Add the cream cheese and you're done.
8.    Then even out the top of the layers (you can always leave the top one domed if you like). Use the height of the sides as a guide and use a bread knife to saw through.
9.    Sandwich the layers with a thin layer of frosting and then finish off by covering the whole thing in it! I used hundreds and thousands on the top but you can use whatever you like. 

N.B. You can get some crumbs in the frosting when you do the whole cake. I’d advise to do a thin layer around the whole cake not worrying about crumbs running the lovely frosting. Pop into the fridge for 30 minutes and then finish off with a thicker layer that should stay lovely and clear of crumbs.
 

Tuesday, 25 February 2014

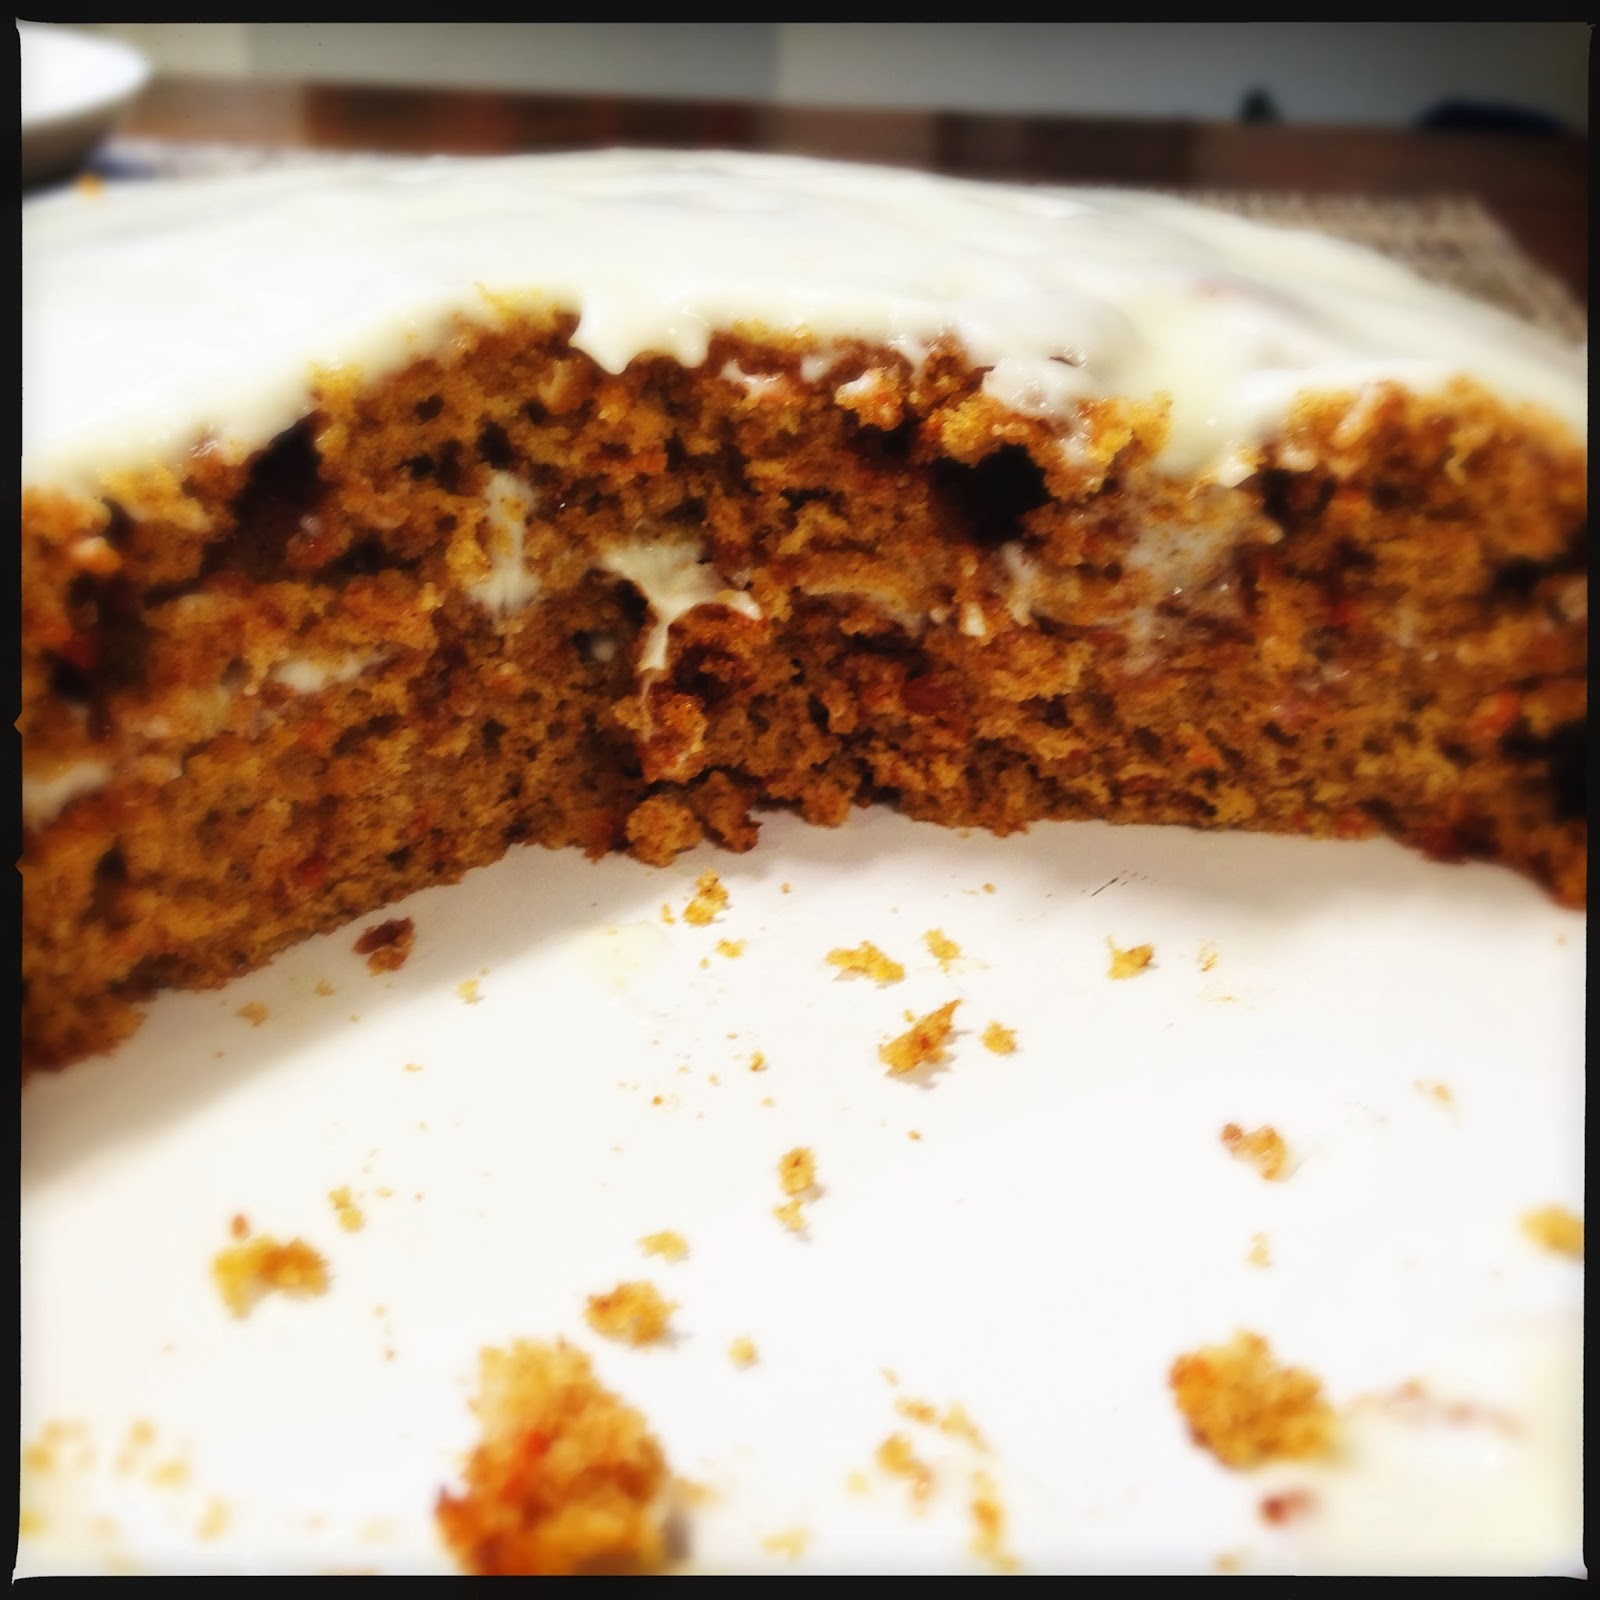
Carrot Cake (from a box!)


So my weighing scales are currently indisposed which does cause some issues when baking. Now of course there are always cups but to be honest I really couldn’t be bothered to create something from scratch last night. I was making chicken schnitzel and wanted to dedicate time to bashing chicken breasts really flat with a rolling pin. Plus it always creates a lot of washing up as The Thew has a gluten free coating which means another bowl is needed (for those interested I blitz nuts and/or crunchy edamame with seeds and add seasoning) so adding baking accessorises to that – well it’s just a mess. 

I therefore decided to buy a box of cake mix while in M&S buying dinner items. I’m not snobby about cake mix boxes. They do a job and are a good base for pimping. My friend’s husband works wonders adding extra ingredients to Betty Crocker Brownie mix. The results are epic, cause less washing up and less stress. I got the carrot cake one as I knew I could add extra spice and some walnuts to it (sadly I had no walnuts at home but hey ho). 

In general it went well. Everyone at work said it tasted good (if not a little sweet) but I have some complaints about it. Nothing that impacted hugely on the end result but things that shouldn’t really happen. So the brown sugar in it was clearly in little clumps and they were impossible to de-clump. When baked this means that the sugar goes molten and leaves holes in the cake. Not an issue but it doesn’t look good. Then the frosting. I’ve never known cream cheese frosting that doesn’t set – it’s meant to! I added twice the amount of cream cheese and it still didn’t set after a night on the cake in the fridge. Once again, not a massive issue but it’s not ideal. So below is my take on making it work a bit better than the instructions on the pack including adding some butter to the icing. I think I'll make cake box baking a regular feature to test them out.

Ingredients
1 x box of M&S carrot cake mix
2 large eggs
½ tsp baking powder (as they never put enough in)
3 tsp vegetable oil (not olive)
5 tps water
1 tsp cinnamon (because they never out enough in)
1 carrot (large)
Handful of chopped walnuts
30g butter, softened
200g full fat cream cheese (I’ve doubled this as it was far too sweet) 

1.    Preheat the oven to 180°C/GM4 and grease/line two sandwich tins.
2.    Put the cake mix in a bowl, add the eggs, baking powder, oil, water and cinnamon. Mix together well. Grate the carrot into the bowl, add the walnuts and folder into the batter.
3.    Pour half of the batter into each sandwich tin and bake for about 20 minutes. Check after 15 as the size of your sandwich tins will determine how long they take. Plus if they are on different shelves of the oven you may want to switch them half way through to get even cooking.
4.    While the cake is cooking put the icing sugar packet into a bowl and add the butter. Mix together until the butter is evenly distributed throughout the icing sugar. Add the cream cheese and mix like mad. Leave in the fridge until you need it.
5.    Once the cakes are cooked leave to cool completely before assembling. Put one cake down first, spread half the cream cheese icing over it and put the other cake on top. Spread with the rest of the icing and you can decorate with more walnuts and grated carrot if you so wish. 

N.B. With this many extra ingredients it may seem just as quick to just make it from scratch. However the box recipe excludes four of my ingredients so that would be easier and regardless of that there is much less weighing and mess.

Doesn't look exactly the same as the baked version, does it?!