Tuesday, 5 August 2014

Enthusiasm Flapjacks


Sometimes I need to clear out stuff from my baking shelves so flapjacks are an ideal way to use up ingredients. The quantities below are a guide so feel free to experiment. 

The name comes from the most wonderful Lorna who, when I lived with her, used to make Enthusiasm Soup. So called because you put everything you've got into it.   

Ingredients
250g butter
200g brown sugar (or any sugar)
Good dollop of golden syrup or honey
200-300g mixture of dried fruit, nuts, seeds
400-500g oats 

1.    Preheat the oven to 180°C/GM4.
2.    Melt the butter in a large saucepan. While melting add the sugar and syrup/honey. Mix it all together.
3.    Take off the heat and add the fruit/nut/seed mixture and stir well. Then add the oats, stirring again. You don't want a wet mixture at the end just enough to coat everything to create a sticky mess.
4.    Line a large tin and tip the mixture in, smoothing out before putting in the oven for 20 minutes.
5.    Cool and cut into desired sized pieces. Let it cool properly as the butter need to solidify a bit at bind it all together.


Tuesday, 8 July 2014

Rainbow Cake or Why Lorna Rocks


So a couple of weekends ago I walked 100km in just under 28 hours. The main reason for this is that my friend Lorna asked me to. I’ve explained before that she rallied a team together to collect money for Cancer Research after one of her friends at work was diagnosed with cancer. We have raised over £6,300 which is amazing and is testament to how kind hearted and supportive people can be of crazy physical challenges. It’s also testament to the fact that everyone needs Lorna as a friend. Or at least someone like her as she’s already a very busy lady and might break if she had to be friends with the world (she is already a friend of all animals which is fairly epic in itself). Who else would think of doing such a random thing and actually convince six more people to do it with her? Because of her Cancer Research has an extra 6k to get on with doing what they do best - pretty cool.

So this week I went a bit random. It’s not exactly a true rainbow cake, as I’m missing three colour layers (I need a bigger cake box to transport something taller), but this will give you a good enough guide. There is something satisfying about constructing a truly fun cake with no real purpose other to look pretty and get people hyper on the E numbers (someone in my office had to have a walk to get rid of the excess energy after her slice!)  
The sponge is really easy and robust as you don’t want to have to faff with lots of ingredients and breakages when doing multiple layers. Don’t worry though – it’s a nice sponge and tastes well. It also keeps so you can make the sponges a couple of days in advance. Maybe I should start getting sponsored for the tallest cake I can make?! 

Ingredients

Cake
Each layer uses the following (you can mix in big batches and divide into bowls to add the food colouring. Each layer will need 415g of batter).
100g softened butter
100g caster sugar
2 large eggs
100g self-raising flour
10ml or 10g of bake safe food colouring 

Icing
You can obviously just buy Betty Crocker ready mixed frosting or:
200g softened butter
900g icing sugar
400g full fat cream cheese
Decorations 

1.    Preheat the oven to 180°/GM4.
2.    Grease and line two sandwich tins. I did two sponges at a time as I only have two tins and my oven only fits two at a time!
3.    Cream the butter and sugar together, add the eggs one at a time and then mix in the flour. See – easy!
4.    If dividing the mixture do it now into about 415g a layer then add the food colouring and mix.
5.    Put into a tin and bake for 25 minutes. If you are cooking two at a time and have a gas oven then you’ll need to swap the shelf they are on half way through.
6.    Cool and turn out until ready to construct.
7.    If making frosting then then ideally use a food processor as icing sugar is messy! The quantities pack it to the max but you can of course use a hand held whisk or free standing . So put the butter in with the sugar and mix until combined through. Add the cream cheese and you're done.
8.    Then even out the top of the layers (you can always leave the top one domed if you like). Use the height of the sides as a guide and use a bread knife to saw through.
9.    Sandwich the layers with a thin layer of frosting and then finish off by covering the whole thing in it! I used hundreds and thousands on the top but you can use whatever you like. 

N.B. You can get some crumbs in the frosting when you do the whole cake. I’d advise to do a thin layer around the whole cake not worrying about crumbs running the lovely frosting. Pop into the fridge for 30 minutes and then finish off with a thicker layer that should stay lovely and clear of crumbs.
 

Tuesday, 17 June 2014

Olive Oil Bread


I’ve been a bit quiet recently on the blog. I have been baking but it all got a bit busy and emotional, so the writing got left behind. My Uncle died suddenly at the end of April and it’s been very difficult to drum up energy for anything outside of work and prior commitments.  

However the baking goes on and very excitingly I managed to arrange a ‘Sausage Roll Day’ at work where we had about eight people baking around 10 different types of sausage roll. It was epic! It’s exciting to see people get worked up about baking (or it is for me) and as someone who is seen to ‘know’ about baking I get lots of questions and enthusiasm from people when they see that it’s not actually that hard. 

My neighbour, knowing I bake, gave me some fresh yeast so I decided to make bread. I’ve never used fresh yeast before but I highly recommend it. Very easy to use and the bread was great. The method below looks a bit long winded, and it does have more steps, but you’ll spend less time fiddling with the dough. Rather than 2 x 5-7 minutes of kneading your total time is more like 2 minutes. I believe it’s the method Dan Lepard (?) uses, or my bastardised version, as I read it on a Guardian baking blog and thought it sounded interesting. It is and I recommend it whole heartedly. I hate kneading so this is bliss. 

Ingredients
500g strong white bread flour
15g fresh yeast (I have no idea where you get this unless you live near my neighbour who had some)
300ml warm water (100ml boiling to 200ml cold)
2 tbsp olive oil 

1.    Crumble the fresh yeast into the flour and use your finger tips to distribute it throughout the flour. Much like you would mix butter into the pastry.
2.    Add the oil to the water and pour into the centre of the flour mixture. Mix until it comes together as a dough.
3.    Then knead for 15 seconds vigorously in the bowl. Then cover with a tea towel and leave for 15 minutes. Then do another 15 seconds. Leave for 15 minutes and then a final 15 seconds of kneading before covering again and leaving for an hour or so somewhere warm.
4.    Once it’s puffed up and doubled in size turn it out onto a floured surface. Stretch the dough out into a big square (random I know but stick with me). It’s best if you start this from the middle underneath, stretching to the sides before pulling the sides out. It doesn’t need to be perfect as all you need to be able to do with it is this: fold the bottom third into the middle, then the top third over the bit you just folded. Then repeat long ways. Just watch the video below! (Sorry it's using a paper towel and not dough).
5.    Once this is done pop into the bowl, cover and leave for 20 minutes. After 20 minutes do the same again, leave for 20 minutes in a covered bowl and then do it again. After this final third folding shape and place on a baking tray. Cover the dough and leave in a warm place for an hour or so to double in size. Oiled cling film is best I find.
6.    Preheat the oven to 190°C/GM5. Once the dough has risen, uncover, slash some cuts in the top if you like and pop in the oven for about 30 minutes. You might need another 5 and if a gas oven then turn half way through to get an even colour on top.
7.    Eat warm, ideally, with lashings of butter. Or bring into work and see it demolished. Or make two smaller loaves, rather than one big one and give one to the neighbour who gave you the yeast.


Tuesday, 25 March 2014

Upside Down Nectarine Cake


I’m in great pain. My legs hurt but not as much as The Thew’s – probably because he runs faster than me and is officially the fastest Woodrow. I’m the slowest but it’s a role I fill bravely and with style! The Brentwood half marathon felt like a good idea at the time but I did have a couple of glasses of champagne inside me along with a glass of wine when I agreed to do it. Most things start to seem like a good idea at that point. The worrying thing is that I have a harder half marathon in less than two weeks when I go to Ireland to see my family. Once again it seemed like a good idea at the time to combine a boozy family trip to Connemara with a race. Thinking back I was probably drunk. 
However alcohol cannot explain why on Sunday evening, in pain from the half marathon I just ran, I signed up for a 100km walk. That’s explained by friendship which is a much better reason. My good friend Lorna has a friend who has cancer and she’s doing the walk to raise money for research into cancer. Lorna is one of those amazing people who will fight any battle to the maximum that she believes is worth fighting – she’s like a super hero on the side of all that is right and just. If she could shrink into a space ship, like Dennis Quaid in Innerspace, and fight cancer head on inside bodies she’d be doing it. Because she can’t, and because she’s one lady who won’t sit idly by, she’s going to walk 100km. Because she’s my friend, and it’s important to her, I’m walking it too.  
The above has very little to do with my baking this week apart from forgetting about baking because of the run, then realising I had some nectarines to use up and that I had the ingredients for a sponge. I’m awful at turning out upside down cakes so was happy this one worked! You can use any soft fruit here really but I think it’s worth the extra time to do a nice pattern in the top. 

Ingredients
Topping
50g butter
75g caster sugar
5 nectarines, chopped (I did slices – 6 per nectarine – but you could just half them if you prefer) 

Cake
150g butter
150g caster sugar
3 large eggs
60 ml milk
1 tsp vanilla
150g self-raising flour 

1.    Preheat an oven to 180°C/GM4.
2.    Use the 50g of butter to coat the bottom of a tin – I used 23” but you can use any size really. Make sure it’s kind of evenly spread and grease the sides lightly. Sprinkle the 75g of sugar over the butter. Then arrange your fruit on it.
3.    Cream the butter and sugar together, then add the eggs one at a time mixing well.
4.    Put in half the flour, mix, then mix in the milk and vanilla, then mix in the last of the flour.
5.    Cover the fruit with the batter and bake for about 35 minutes, testing to check it’s cooked. If you’ve used a smaller sized tin you may need another few minutes.
6.    You can serve this hot or cold so either cool completely, or if serving hot, leave for about 10 minutes before turning the tin upside down on a plate and hoping it comes out well!

Wednesday, 19 March 2014

Shamrock Fairy Cakes

Stupid picture won't rotate!
Things are fairly hectic at the moment. I'm having my bathroom redone which means the flat is in a constant mess and everything is covered in dust. Work is busy and I've managed to stall mid introduction to a creative pitch because I've suddenly worried about the delivery of my toilet. Sadly I then went on to talk about the reason I stalled and can only be thankful that it's was a client that knows me and doesn't think random tangents of my thinking are standard.  

Anyway I baked on Sunday as it was St. Patrick's Day and I wanted to bring some baking into work on Monday for it. This was made more interesting because I was hung over from attending a brilliant wedding the day before so had to battle through that and tiredness. Added to the intensity was the fact that I'd been inspired by a link my friend Claire had sent me to make shamrock shaped fairy cakes. This meant that I had to think a bit, which was the one skill I was having difficulty with. Oh well.  

Now you'll need some ceramic baking beads to make these which you may not already have. These are vital but you can use the when making pastry cases etc so good to have. Make sure you have bake safe food colouring - I used Wilton's icing paste stuff in Leaf Green. The recipe is fairly basic and I cheated on the frosting but when you're making luminous green cakes I think that's ok as they're more novelty item than something that will win Bake Off. 

Ingredients 

Cakes
100g caster sugar
100g butter
2 large eggs
1 tsp vanilla extract
100g self-raising flour
1/2 tsp green food colouring 

Icing
1/2 tub of frosting (I used Betty Crocker vanilla icing)
Slightly less than 1/2 tsp green food colouring 

1.    Line a deep muffin tin with paper cases. A fairy cake, shallow tin, won’t work. Place three ceramic beads between the tin and case - spaced equally around the edge. This will push the case into a shamrock shape. Don't worry if it's not exact - people will get the general idea! (See below for how you need them to look before baking).
2.    Preheat an oven to 180°C/GM4.
3.    Cream the butter and sugar together.
4.    Add the eggs and vanilla mixing well. Then mix in the flour followed by the green food colouring. 
5.    Divide the batter between the cases. This will make 12. Don't worry if you don't get batter fully into each leaf shape as it will spread while cooking.
6.    Bake for about 15-20 minutes testing that they are cooked with a skewer. They're done if it comes out clean.
7.    Cool them completely and remove the paper cases.
8.    Mix the green food colouring into the icing and using a piping bag (I know, I'm sorry, it's fiddly but you need to distinguish between the leaves) squirt some on each of the three leaves so people understand what you've created! Then they're done. Serve with Cidona or red lemonade.


Tuesday, 11 March 2014

Red Velvet Cake with Cream Cheese Frosting


People can be so unaware of their surrounding and the effect they have on others. I always think of 'Sliding Doors' when something happens which could start off a chain of events. The bus driver who refuses to open the middle doors of a bus for a dad with a pram, the pedestrian whose random change of direction causes a bike to swerve, a delivery driver seeing no issue with changing a delivery time by a couple of hours.  

What could happen? I'm a pessimist so I see a missed appointment, an accident waiting to happen and a crisis at work that gets worse because you're not around. In reality this is how we live our lives - randomly bumping, or not, into each other and getting nudged ever so slightly, or not, into different directions. I was thinking about this as at work one of the creative team mentioned 'the nudge effect' in respect to a brief we are working on. I'm lucky enough to work with some ridiculously talented creative people who spend all day thinking about things and coming up with cool ideas. How the hell I got into this job still baffles me and when I think of some of the amazing experiences I've had during my working life I can't help but be very happy that I got nudged along (special thanks here has to go to Lorna for seeing that job at Emap many moons ago and getting me out of media sales - before anyone takes offence it wasn't for me, I personally didn't enjoy it and wasn't that amazing at it).

So we come to baking. My slight obsession with finding a good red food colouring that stays red when baked, remembering that I have a tall cake box at home I got from work and the front cover of 'Jamie's' magazine all nudged me to bake a three (I know!) tiered red velvet cake. The quantities look scary but they should - it's three tiers of substantial cake covered in cream cheese frosting!!!! Let's see how creative the team gets when hopped up on aggressive red food colouring sourced from the US ... 

Ingredients

Cakes
250g softened butter
600g caster sugar
4 large eggs
40g cocoa powder
80ml or 80g of bake safe red food colouring (Dr. Oetker red gel works)
2 tsp vanilla extract
600g plain flour
2 tsp salt
2 x 284ml pots of buttermilk (Waitrose is the only place I can find it or 2 parts natural yogurt to 1 part whole milk)
2 tbsp white wine vinegar
2 tsp bicarb of soda 

Frosting
200g softened butter
900g icing sugar
400g full fat cream cheese 

1.    Preheat the oven to GM4.
2.    If you have three 20cm sandwich tins then grease and line the bottoms. I only have two so you'll need to use one twice.
3.    Cream butter and sugar in a big bowl. It won't properly cream together but just make sure it's all mixed up. Add the eggs one by one, scraping down the sides.
4.    Put the food colouring, cocoa powder (I don't bother to sift) and vanilla in a bowl and mix together. Add to the batter and combine.
5.    Then add the salt and about 1/3 of the flour. Mix. Then add one of the pots of buttermilk, mix, then 1/3 flour, mix, then second buttermilk pot, mix, then the last of the flour.
6.    Mix the vinegar and bicarb in a bowl and add to the batter. Mix well.
7.    The batter allows you about 800g per layer so weigh it out in a bowl and put in the sandwich tins. Obviously if you just have two then keep some back.
8.    Bake for about 35 to 40 minutes. If you have a gas oven you'll want to switch the tins around on the shelves half way through if doing two together. Test with a knife or skewer and if it comes out clean leave them to cool.
9.    The frosting is easy but icing sugar is so messy. If I had an outside  I'd do it there but I don't so I use a good processor. The quantities pack it to the max and you can of course use a hand held whisk or freestanding. So put the butter in with the sugar and mix until combined through. Add the cream cheese and you're done.
10.  Once the cakes are cool layer them together with frosting - there is enough for a fairly generous layer between each. Remember to do this on your serving plate, stand etc as you won't be able to move it once finished! Choose your most evenly rounded top for the top one and smooth out any random bumps or wonkiness by using a sharp bread knife to gently cut then away. When it comes to frosting a palette knife is your friend. Build the coverage of the sides up slowly by doing a little at a time until you can't see any cake. Crumble up some of the cut off cake and sprinkle on the top. Voila!  

N.B. When frosting, to get a nice finish on the bottom, gently put strips of baking paper slightly under the bottom layer and once you are finished slowly remove them. It will give you a clean finish.


Tuesday, 25 February 2014

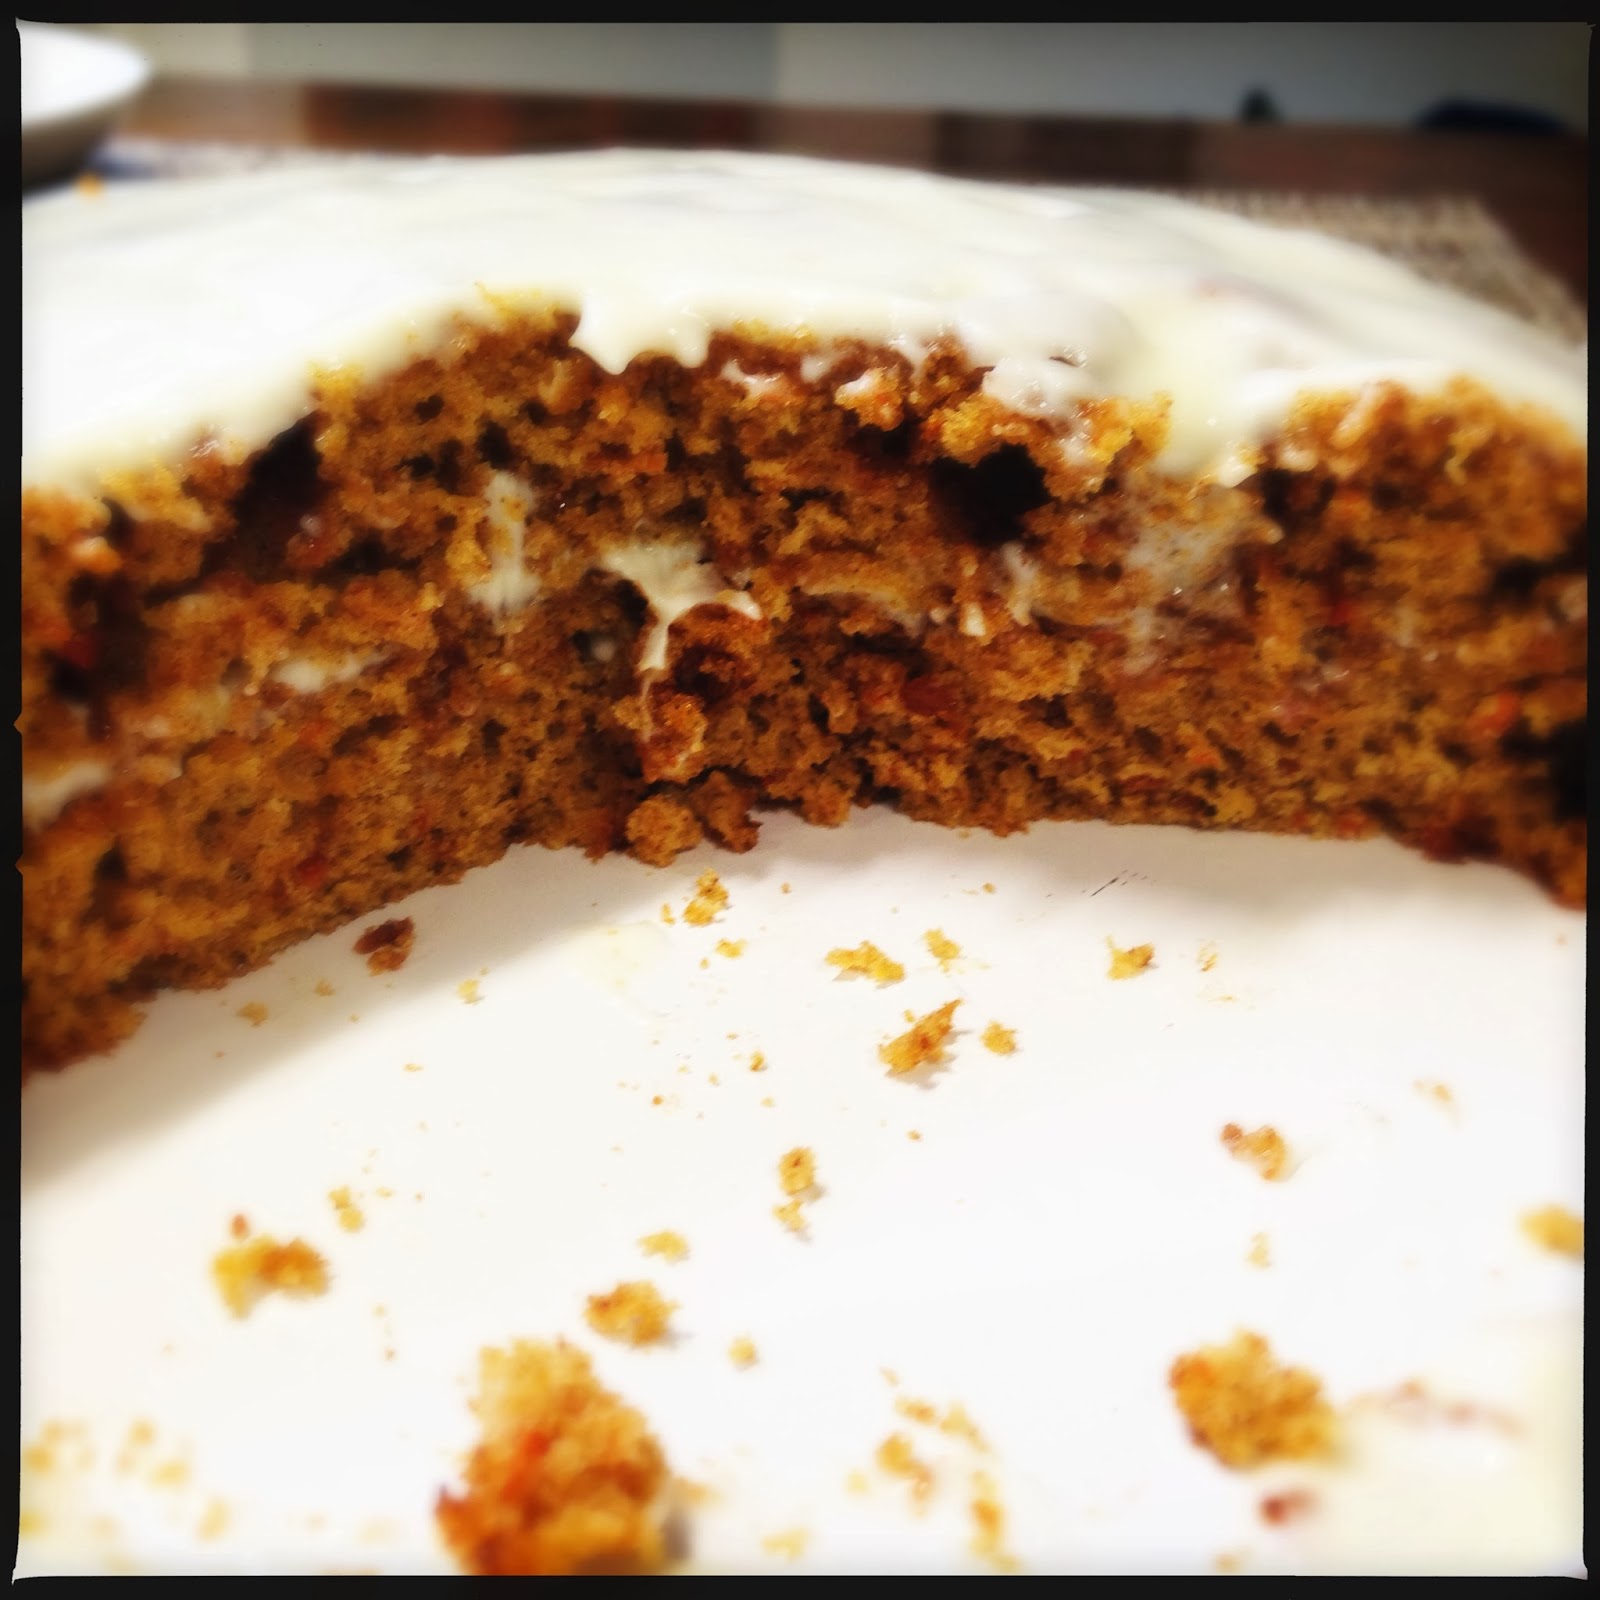
Carrot Cake (from a box!)


So my weighing scales are currently indisposed which does cause some issues when baking. Now of course there are always cups but to be honest I really couldn’t be bothered to create something from scratch last night. I was making chicken schnitzel and wanted to dedicate time to bashing chicken breasts really flat with a rolling pin. Plus it always creates a lot of washing up as The Thew has a gluten free coating which means another bowl is needed (for those interested I blitz nuts and/or crunchy edamame with seeds and add seasoning) so adding baking accessorises to that – well it’s just a mess. 

I therefore decided to buy a box of cake mix while in M&S buying dinner items. I’m not snobby about cake mix boxes. They do a job and are a good base for pimping. My friend’s husband works wonders adding extra ingredients to Betty Crocker Brownie mix. The results are epic, cause less washing up and less stress. I got the carrot cake one as I knew I could add extra spice and some walnuts to it (sadly I had no walnuts at home but hey ho). 

In general it went well. Everyone at work said it tasted good (if not a little sweet) but I have some complaints about it. Nothing that impacted hugely on the end result but things that shouldn’t really happen. So the brown sugar in it was clearly in little clumps and they were impossible to de-clump. When baked this means that the sugar goes molten and leaves holes in the cake. Not an issue but it doesn’t look good. Then the frosting. I’ve never known cream cheese frosting that doesn’t set – it’s meant to! I added twice the amount of cream cheese and it still didn’t set after a night on the cake in the fridge. Once again, not a massive issue but it’s not ideal. So below is my take on making it work a bit better than the instructions on the pack including adding some butter to the icing. I think I'll make cake box baking a regular feature to test them out.

Ingredients
1 x box of M&S carrot cake mix
2 large eggs
½ tsp baking powder (as they never put enough in)
3 tsp vegetable oil (not olive)
5 tps water
1 tsp cinnamon (because they never out enough in)
1 carrot (large)
Handful of chopped walnuts
30g butter, softened
200g full fat cream cheese (I’ve doubled this as it was far too sweet) 

1.    Preheat the oven to 180°C/GM4 and grease/line two sandwich tins.
2.    Put the cake mix in a bowl, add the eggs, baking powder, oil, water and cinnamon. Mix together well. Grate the carrot into the bowl, add the walnuts and folder into the batter.
3.    Pour half of the batter into each sandwich tin and bake for about 20 minutes. Check after 15 as the size of your sandwich tins will determine how long they take. Plus if they are on different shelves of the oven you may want to switch them half way through to get even cooking.
4.    While the cake is cooking put the icing sugar packet into a bowl and add the butter. Mix together until the butter is evenly distributed throughout the icing sugar. Add the cream cheese and mix like mad. Leave in the fridge until you need it.
5.    Once the cakes are cooked leave to cool completely before assembling. Put one cake down first, spread half the cream cheese icing over it and put the other cake on top. Spread with the rest of the icing and you can decorate with more walnuts and grated carrot if you so wish. 

N.B. With this many extra ingredients it may seem just as quick to just make it from scratch. However the box recipe excludes four of my ingredients so that would be easier and regardless of that there is much less weighing and mess.

Doesn't look exactly the same as the baked version, does it?!