Tuesday 18 June 2013

A Very Rocky Road


It all started innocently enough with a bag of marshmallows. On Sunday, during a leisurely walk with The Thew, I pottered around a local deli in the hope of inspiration for something to bake on Monday. I saw a bag of the cutest white mini marshmallows and I instantly wanted them. What to do with them though? I know – Rocky Road. I’ve never made it before but it’s just a lot of lovely things chucked in melted chocolate, how hard can that be?
Apparently, quite hard. (At this point I must point out that the marshmallow packet had a picture of the clown on it which everyone knows are scary, evil things. I shouldn’t have ignored my original revulsion at his stupid smiling face; I should have known things would go wrong). I had what can only be described as a melting chocolate catastrophe. It’s still too painful to talk about much but my chocolate glooped together rather than running smooth. I’m blaming the addition of golden syrup at the melting stage. Although I’ve done that before. To be honest I have no idea why it clumped together and stopped melting properly but it did. There is probably some scientific explanation, especially as this was milk chocolate, but I’m now determined to get a house with a kitchen big enough for a microwave for the sole purpose of melting chocolate. I’ve been burned by the bowl over the hob method and it’s going to take me a while to recover! 
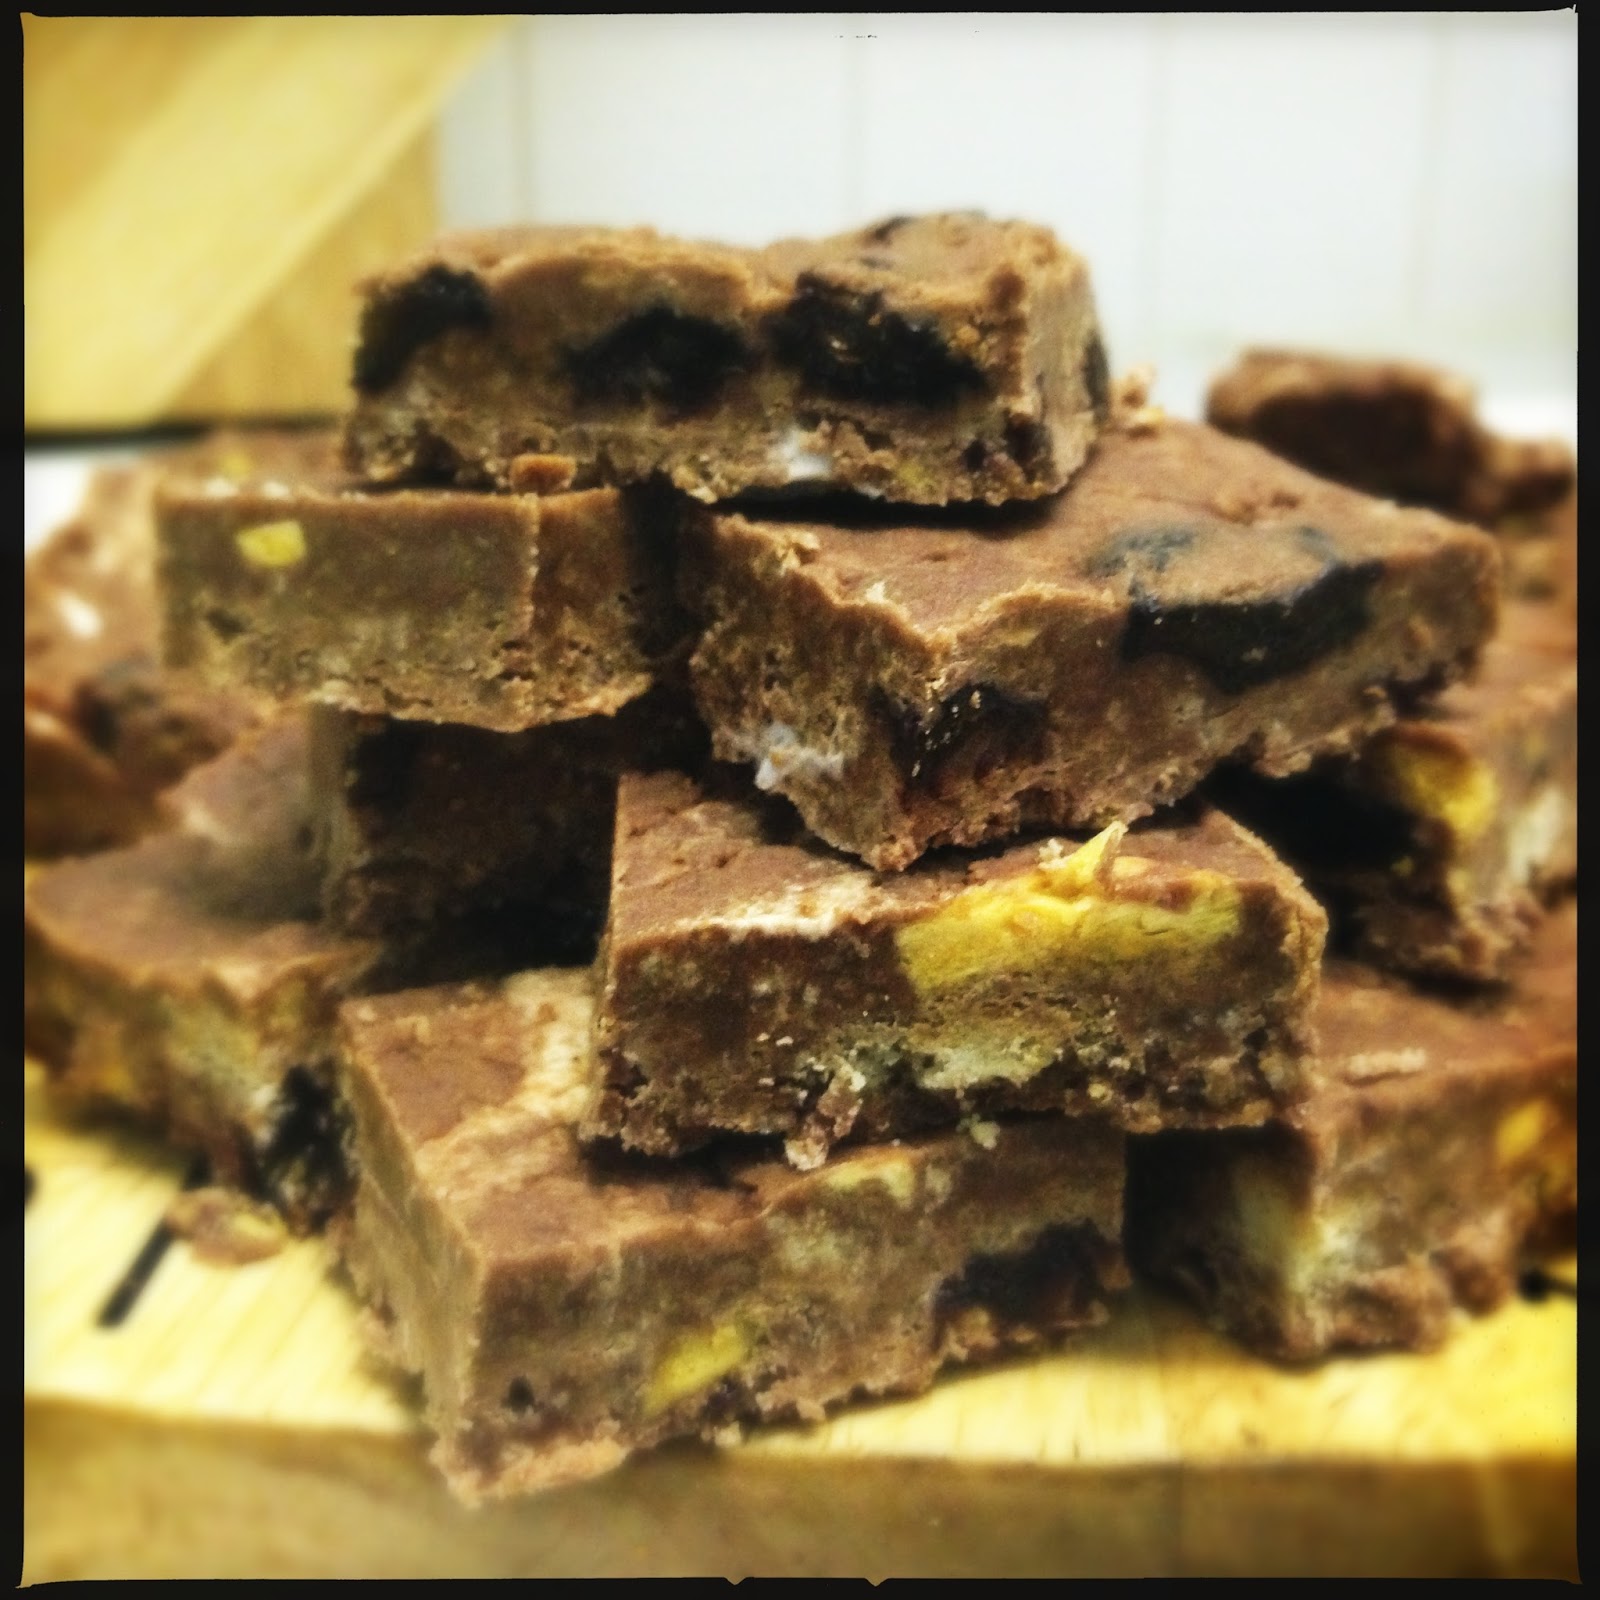
I decided to continue, as I had smashed everything else up, ignoring the fact that mixing things together would be hard when the chocolate was a massive ball of non-meltedness. I put it all into my silicon baking mould and put it in the oven to allow the marshmallows to melt a bit and help bind it together. It kind of worked and to be honest I was so annoyed I shoved the whole thing in the fridge until I cut it up this morning. It's ok. Poeple at my work will eat it. 
So there you have it. The drama that baking (or melting) can contain.
Ingredients
300g milk chocolate
5 digestive biscuits
½ bag of those chocolate covered honeycomb pieces from M&S or two Crunchies
50g raisins
Big handful of mini-marshmallows
3 tbsp golden syrup

1.    Melt the chocolate however you normally do. Good luck!
2.    Smash up the biscuits and Crunchies, if using those rather than pieces.
3.    Add biscuits, honeycomb, raisins and marshmallows to the chocolate and mix. Then drizzle the golden syrup on top, if using, and mix in.
4.    Place in a well lined tray (or a silicon one that doesn’t need lining - mine was 8” by 8”), smooth out and chill for about 2 hours. Lift out and then cut into chunks.
5.    Avoid clowns.


 See? Scary clown!

Wednesday 12 June 2013

Rhubarb and Custard Tart


I won the lottery! Four numbers between four of us. Not quite the big time but heading in the right direction. My good friend Rachel has been managing our little syndicate for years now and every now and again some money will enter my account when we have a bit of cash to pay out. I have to do nothing, as my direct debit for my lines goes over automatically, so it make the small amounts feel like a little treat. Normally I do nothing about it but this time I thought I should get something with the money as I fancied treating myself. But what to get? Most of the shops a short distance from my work sell electronics or home ware. Therefore home ware was going to be the theme.  
This happily coincided with my thinking about what to bake this week. I bought some rhubarb last week but wasn’t feeling the whole rhubarbness so made caramel cupcakes. However it’s still in my fridge and pretty much begging me to do something with it. I love rhubarb and there were always a few plants at the end of the garden while growing up so it was used liberally. I don’t think it’s used enough as its slight tartness is welcome, even if you have to slather it in sugar to make it palatable. Surely that’s a plus? So I thought ‘rhubarb’, then I thought ‘custard’, but I don’t want a crumble – what about a tart?!!! 
So below is the culmination of my thought process, matched with winning the lottery and deciding to treat myself to a loose bottomed flan tin. My case split, and half the custard drained out while baking, but it rocked. I used a 25cm tin but you could use one slightly smaller, although I had custart left. It’s a really simple recipe and I’d say that you could use the custard as a base for any fruit tart that you like. Soft fruit would work well and I wouldn’t bother with roasting first. 
Ingredients
400g rhubarb
100g caster sugar
A vanilla pod if you have it but I chucked in some extract
350g short crust pastry (I used the ready roll but it just broke apart. I think the readymade block would be better and just roll it out yourself or buy a readymade tart case!)
75g soft butter
150g caster sugar
300ml double cream
3 large eggs
1/2 tsp vanilla extract 

1.    Preheat the oven to GM5/190°C.
2.    Chop up the rhubarb into chunks. About 3 - 4cm long and if it’s chunky cut in half lengthways. Cover with the caster sugar, drizzle on the vanilla extract, cover with foil and put in the oven for 15 minutes until soft. (Mine went completely mushy but it worked). Then leave it covered until you need it.
3.    If baking your case then roll out the pastry and line a buttered flan tin with it. Ideally loose bottomed but if you don’t mind prising the first bit out in a messy way then any tart style tin will do. Blind bake (so a large piece of baking paper down, cover with a load of lentils chucked on top to stop the pastry rising. Some people have specialist baking beads but screw that – lentils do) for 15 minutes then lift the baking paper out, with the lentils, and bake for about 7 minutes until the case is hard and starting to colour.
4.    If not baking your case, and you’ve bought one, then skip step 3 and feel smug.
5.    Turn the oven down to GM3/160°C. Put the soft butter (make sure it’s really soft), sugar, cream, eggs and vanilla in a bowl and whisk together. Custard done! See so simple.
6.     Drain the rhubarb, keeping the liquid as you could serve with some of this and cream. Fill half the case with custard, dot the fruit around, then fill the case with the rest of the custard. If you feel like it save some fruit to lay on top to look impressive. I didn’t do this!
7.    Bake for 35 minutes with a baking tray on the bottom of the oven to catch any stray custard.
8.    Fully cool before serving. 

N.B. You will have some pastry and possibly some custard left. So cut out rounds of the pastry, line a cup cake tin with them, adding the custard. Bake for 15 minutes and cool.


Tuesday 4 June 2013

Caramel Cupcakes


I've needed to get my fringe cut for about two weeks now and have been unable to find the time. I have no idea why not as it’s a relatively simple procedure and doesn't take long but I just haven't found the time. Now I'm rapidly running out if hair styles which allow my fringe to be pulled back. If I leave it down then it goes to the side and just looks stupid. I may have attempted to trim it myself at the weekend but after the first tiny snip I realised that only madness lay in in that approach and put down the scissors. 

Currently I'm attempting to rock a high bun/top knot thing which saves me tons of time. Just whack damp hair into a high ponytail and swish up with a hair band into something looking relatively neat. If only everything in life was that easy. Although I always panic that tying wet hair up will somehow cause it to rot as it can't fully dry as I'm sure I heard that somewhere (I did Google it and apparently people with thick hair who put it in a ponytail wet and leave it for days can get mildew! Who leaves their hair in a ponytail for days on end?) 

Anyway I can't find time to get my fringe trim but I do find time to bake. I had started prep by taking the butter out if the fridge on Sunday and I urge you to do the same. Normally I just soften butter with the electric whisk but this recipe is so much easier if it’s squishy to begin with. This is a Hummingbird Bakery recipe with my own tweaks to their frosting (mainly halving it as they get you to make so much). Their base for cupcakes is so simple and the addition of milk makes then verge on muffin texture while keeping something fundamentally cupcake there. My sister made these for our Mother's Day afternoon tea this year and they were amazing.

Ingredients 

Cupcakes
80g softened butter
280g sugar
240g plain flour
1 tbsp baking powder
1/4 tsp salt
240ml whole milk (don't scrimp with semi-skimmed - look how much sugar you're putting in)
2 large eggs
1/2 tsp vanilla extract
150g caramel (Carnation have finally cottoned in to the fact that it’s fairly dreary boiling a can of condensed milk for 2 hours just to get caramel and now do the boring work for you)

Frosting
80g softened butter
250g sifted icing sugar
50ml whole milk
80g caramel 

1.    Preheat the oven to 190°C/GM 5. Fill two 12 muffin/cupcake tins with cases. The original recipe says this makes 12-16 cupcakes in a muffin tin but I can get about 24 out if you use large cupcake cases.
2.    Put the butter, sugar, flour, baking powder and salt in a bowl and using an electric whisk mix together until it looks like breadcrumbs.
3.    In a jug hand whisk the milk, eggs and vanilla. Add about ¾ of this to the cupcake mixture and mix well. Then add the rest with the caramel. Mix until smooth and then divde the mixture in to the tins. Fill the cases about 2/3’s full (I always end up with a bit more in each).
4.    Bake for about 20 minutes until a cake tester comes out clean. I have a gas oven to turn the tin around half way through as otherwise the ones nearest the back get more browned than the ones at the front.
5.    While this is going on make the frosting. Mix the butter and sugar together. It will form lumps of butter and sugar, so don’t panic – you don’t want to cream them. Then add the milk, mix well, and then the caramel. Done.
6.    Once the cupcakes have cooled slather the top in frosting. I use a palette knife and hope for the best as I’m not skilled with anything delicate.